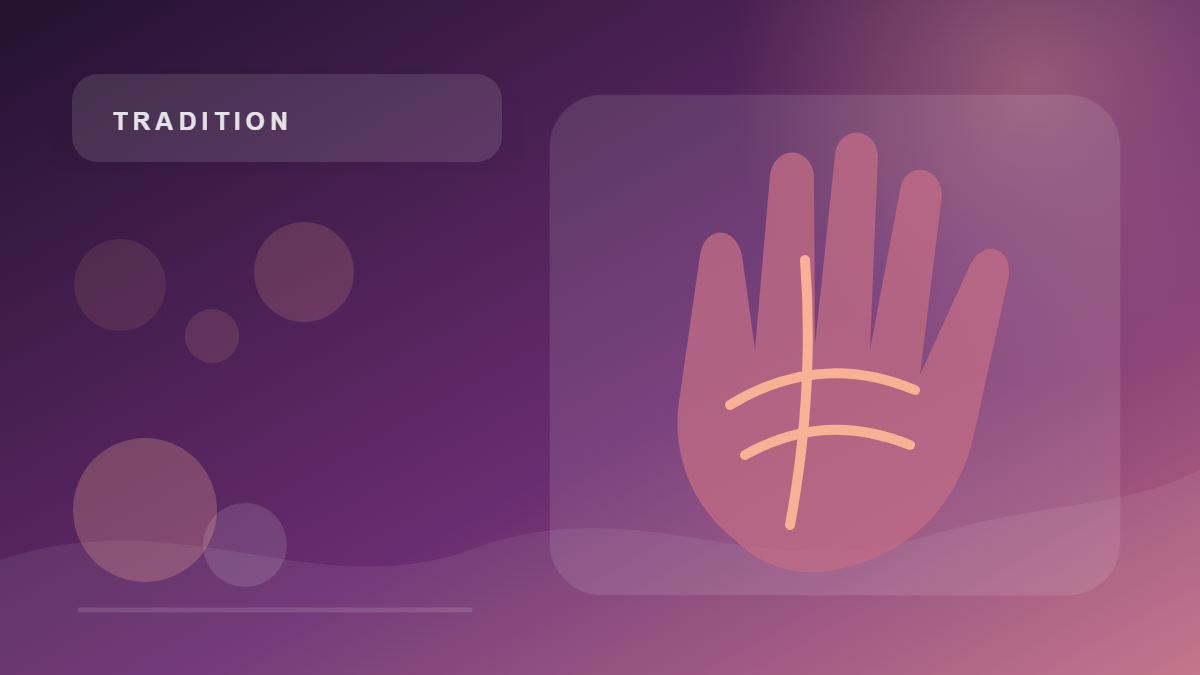
Traditional context: Show the complete palm is discussed here as part of face reading, palmistry or Feng Shui traditions. Different schools can interpret the same visible feature differently, so the page explains the idea rather than presenting it as a scientific fact.
Responsible-use boundary: Preparing a clear palm photo must not be used to diagnose health, determine lifespan, identify sensitive traits, judge employability or replace professional evidence. The useful role is cultural interest and personal reflection.
Show the complete palm
The palm, fingers and area near the wrist provide more context than a close crop of only the center.
Frame the entire hand so shape and major lines can be described together.
Use soft light
Harsh flash can create shiny highlights while side light can hide fine creases in shadow.
Use diffuse light that reveals the palm texture without strong glare.
Focus on the palm surface
Phones can accidentally focus on the background or fingertips.
Tap the palm area in the camera preview and check that the main lines are visibly sharp.
Keep the hand natural
Stretching the fingers painfully wide or bending the hand can distort the usual shape and crease pattern.
Open the hand comfortably and avoid excessive tension.
Protect surrounding privacy
Jewelry, documents, screens and identifiable room details can appear around the hand.
Crop or move unrelated private material before upload.
Common mistakes to avoid
- Cropping off fingers.
- Using flash glare.
- Drawing over faint lines.
Practical checklist
- Show the whole hand.
- Use diffuse light.
- Check focus.
- Keep a natural hand position.
- Remove unnecessary private background.
Frequently asked questions
Should I enhance faint lines?
Avoid processing that invents or exaggerates features beyond what is visible.
Do I need the wrist area?
Including it gives a more complete view of the hand and line origins.
Can I photograph one hand only?
Some readings can use one image, but comparisons require clearly labelled left and right hands.